If you’re considering using electrical tape to secure a heat cable (heating trace) to a plumbing drain, STOP — this common DIY shortcut could lead to fires, pipe damage, or code violations. Here’s why ordinary electrical tape fails in this critical role and what you should use instead to ensure safety and compliance.
Why Electrical Tape Is a Poor Choice for Heat Traces
1. Temperature Limits: Tape vs. Heat Trace
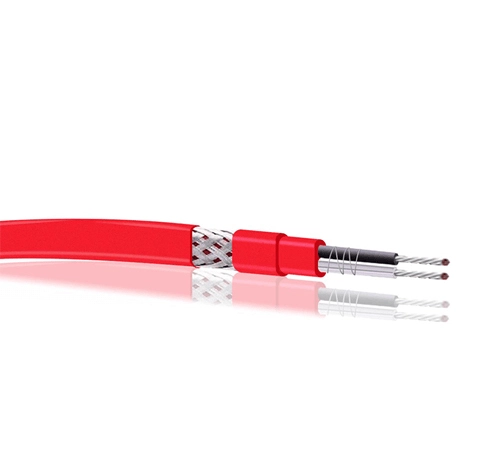
- Heat Cables: Designed to reach 50–150℉ (122–302℉) to prevent frozen pipes or maintain fluid flow.
- Electrical Tape: Rated for only ≤105℉ (221℉). At higher temperatures, the tape melts, hardens, or loses adhesion, leaving the heat trace loose and ineffective.
- Risk: Detached cables create uneven heating, leading to pipe bursts or energy waste.
2. Adhesive Failure in Harsh Environments
Plumbing drains are exposed to:
- Moisture: Causes tape adhesive to degrade rapidly.
- Chemicals/Oils: Found in wastewater, these dissolve standard adhesives.
- UV Exposure (outdoor drains): Weakens tape integrity, causing cracks.
- Result: The heat cable slips off, defeating its purpose.
3. Fire and Electrical Hazards
Overheated tape can:
- Ignite near flammable materials (e.g., insulation).
- Expose live wires in wet conditions, risking electrocution or short circuits.
4. Code Violations and Liability
- NEC/IEC Codes: Require heat-resistant, UL-listed materials for heating cables.
- Insurance Issues: Non-compliant installations may void coverage in case of damage.
Safe, Code-Compliant Alternatives
1. High-Temperature Aluminum Foil Tape
- Rating: Withstands up to 150℉+ (302℉).
- Benefits: Moisture-resistant, reflects heat, and adheres tightly to pipes.
- Example: [3M™ High-Temp Aluminum Foil Tape]
2. Mechanical Clamps
- Stainless Steel Clamps: Allow for pipe expansion/contraction.
- Install Tip: Use with a fiberglass sleeve to prevent abrasion.
Step-by-Step Installation Guide
1. Clean the Pipe: Remove dirt, grease, or moisture with isopropyl alcohol.
2. Apply Heat Cable: Follow the manufacturer’s pattern (never overlap cables).
3. Secure with Approved Materials: Use foil tape or ties at intervals.
4. Insulate the Pipe (if needed): Wrap with foam insulation to improve efficiency.
5. Test the System: Check for hotspots or loose sections before finalizing.
Conclusion: Prioritize Safety Over Convenience
While electrical tape might seem like a quick fix, it’s a high-risk choice for securing heat cables. Invest in heat-rated, code-compliant materials to protect your plumbing, avoid fires, and ensure long-term reliability. For complex installations, consult a licensed electrician or plumber.


