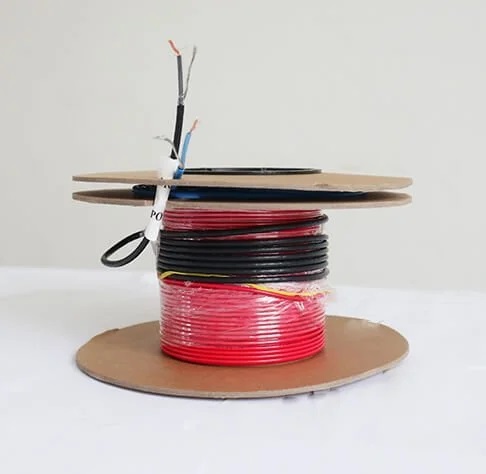
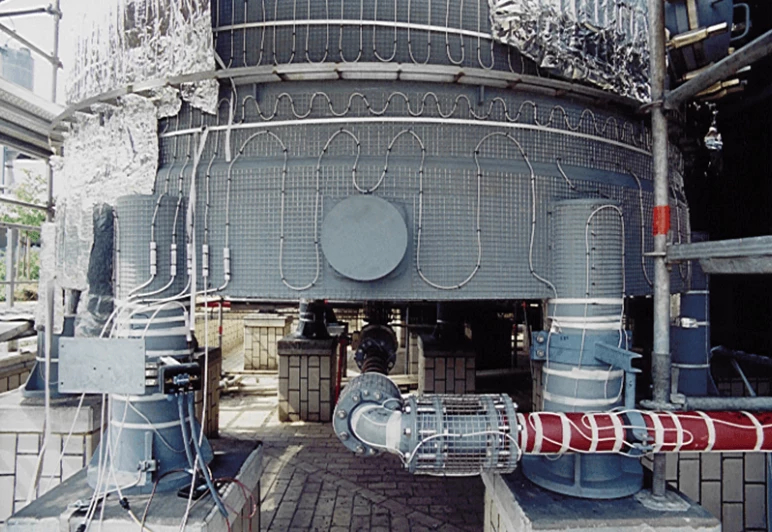
The time it takes for a heating cable (heat trace) to heat up and achieve its intended temperature depends on a combination of factors. Here’s a breakdown of the key variables and how they impact performance:
Key Factors Influencing Heating Cable Heat-Up Time
1. Ambient Temperature
- Colder environments require more energy to raise the pipe’s temperature.
- Example: A heating cable in -20℃(-4℉) weather will take longer to warm a pipe than in 0℃(32℉).
2. Type of Heating Cable
- Self-Regulating Heating Cables: Adjust output based on ambient temperature. They heat up gradually and stabilize once the desired temperature is reached.
- Constant Wattage Heating Cables: Provide fixed power output, heating faster but requiring a thermostat to avoid overheating.
3. Pipe Insulation
- Insulated pipes retain heat efficiently, reducing warm-up time and energy use.
- Uninsulated pipes lose heat rapidly, forcing the cable to work harder and prolonging heat-up time.
4. Pipe Material and Diameter
- Metal pipes (copper, steel) conduct heat faster than plastic (PVC, HDPE).
- Larger-diameter pipes require more heat output and time to warm up.
5. Installation Quality
- Poor contact between the cable and pipe (e.g., gaps, loose fasteners) slows heat transfer.
- Properly secured cables with even spacing heat the pipe more efficiently.
6. Power Supply and Voltage
- Undervoltage or unstable power sources reduce heating efficiency.
- Ensure the cable operates at its rated voltage (e.g., 120V or 240V).
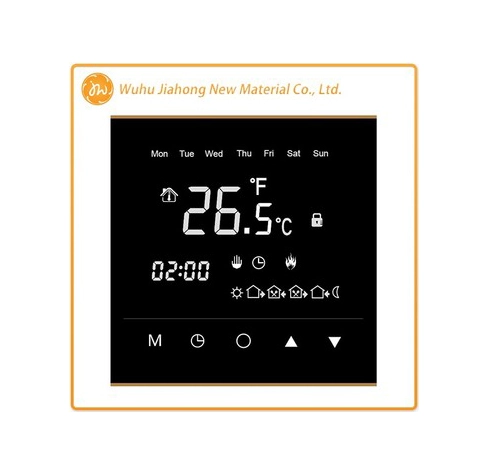
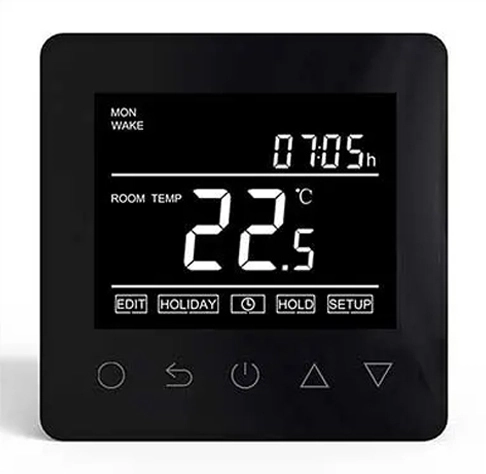
7. Thermostat or Controller Settings
- Systems with thermostats activate only when temperatures drop below a set point, delaying initial heat-up.
8. Environmental Conditions
- Wind chill or water flow (in drains) can dissipate heat, slowing warm-up.
- Buried pipes may heat slower due to ground temperature and soil conductivity.
9. Initial Pipe Temperature
- A pipe already near freezing (0℃/32℉) will heat faster than one at -30℃(-22℉).
10. System Design Purpose
- Freeze protection: Cables maintain a minimum temperature (e.g., 5℃/41℉), requiring less time to stabilize.
- Process heating: Systems designed to raise fluid temperatures (e.g., from 10℃to 50℃) take longer.
Typical Heat-Up Time Estimates
Scenario | Heat-Up Time | Notes |
Small PVC drain pipe (1" diameter) with insulation | 30–60 minutes | Self-regulating cable at 10W/ft. |
Large steel pipe (6" diameter) without insulation | 2–4 hours | Constant wattage cable at 20W/ft. |
Buried water line in freezing soil | 4–8 hours | Depends on depth and soil type. |
Times vary based on ambient conditions and cable specifications.
How to Optimize Heat-Up Time
1. Use Insulation: Reduce heat loss by wrapping pipes with foam or fiberglass sleeves.
2. Choose the Right Cable: Match wattage and type (self-regulating heating cable vs. constant wattage heating cable) to the application.
3. Install Properly: Ensure full contact with the pipe and secure with heat-resistant tape or clamps.
4. Add a Thermostat: Prevents unnecessary operation and optimizes energy use.
5. Check Voltage Stability: Use a dedicated circuit to avoid power fluctuations.
When to Consult a Professional
- For complex systems (e.g., industrial pipelines, long outdoor runs).
- If the cable fails to heat up within expected timeframes (may indicate faulty wiring or undersized cable).
Final Note
Heating cables are designed for sustained performance, not instant heat. Prioritize proper installation and insulation to ensure efficient operation. Always follow manufacturer guidelines for your specific cable type and application.


